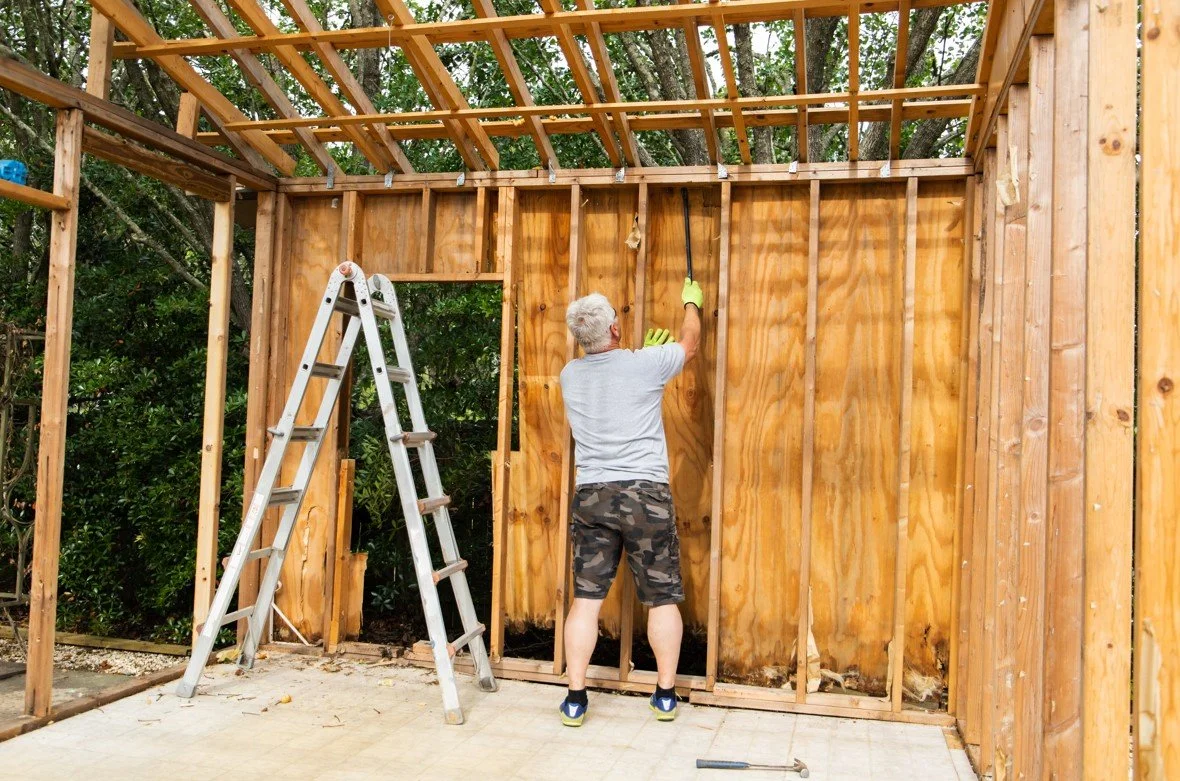
Simple Steps To Building a Shed in Your Backyard
Some homeowners find themselves in a situation where they need to store items and lawn equipment in their backyard for easy access. They might also be looking to build a space that can double as an office, play place for the kids, or hobby room. Building your own shed is not as hard as it sounds, but there are some things you should know before you get started. Here is a step-by-step guide on how to build a shed that will be functional and last for years.
Choosing the Right Plans
The first step is choosing the right plans for your shed. You want to find plans that will best suit your needs and style. Some people prefer a traditional shed, while others might want something with more of an industrial look. You also need to consider the size and shape of your backyard space when choosing your shed plans.
Planning Your Shed
The first thing you need to do is decide what type of shed you want. Will it be a storage shed? Or, will you use it as a place to build things or have a hobby? You will also have to decide the size and color that will best suit your needs. The next step is determining where you want to put the shed. Considerations should be given for accessibility and space. Once you've decided on a spot, mark out the area where the shed will go with stakes and string line. This is important because it will help show where your foundation should go.
Purchasing Materials
You should purchase building supplies for your shed before you start the construction process. If you already have a shed and are looking to expand, then purchase the materials needed to do so. Some of the supplies you will need include:
Plywood, 2x4s and 1x3s
Nails or screws
Framing tools such as a hammer, saw, leveler, drill, drill bit, screwdriver
Fabricated metal doors
Cement to help create a foundation
Windows for ventilation
Doors that can be locked if desired
Building Your Shed
There are many ways to go about building a shed. The first thing you will need to do is decide on the size of your shed and what size door it will have.
Once you know these two factors, you can build the base for your shed with boards and posts. You will then cover this structure with 2x4s before attaching them to one another and covering them with plywood and tar paper.
Next, attach the doors to your opening and install windows if desired.
You will also need materials for your roof such as tin, tar paper, and shingles - or tiles or metal sheets if preferred. You can also use prefabricated panels.
Adding the Finishing Touches
Once you have built the frame of your shed, you can add windows and a door. You can also choose to add a wood or metal roof. These additions will increase the size of your shed and make it more functional.
Another option is installing shelving in your shed to give it an office-like feel. If you need a place to store your lawn care supplies, tools, or holiday decorations, shelving is a good way to do this without taking up too much space and providing some organization to your storage at the same time.
If you want to make your shed into more than one room, you can use curtains or screens to separate the rooms. This will not only create different areas for different purposes, but it will also provide privacy when needed.
So there you have it! The four steps are: frame the walls, create windows and doors, install shelving/additions that suit your needs, and finish with curtains or screens. When you’re done, you’ll have a fully functional shed that you’re proud to have taken the time to build yourself!


