
Guest Post - DIY Roof Replacement Guide
Over time, your roof can become old and start to wear out. This can be a big problem, causing water to leak into your home and do a lot of damage. When you start to notice this, you must take action as quickly as possible. However, calling in a professional roofer can be a big expense. On the other hand, with a few tools, you’ll be able to replace the roof yourself. This can often end up saving you thousands.
Before you head up onto the roof, you might want to double-check the regulations in your state. In some cases, you might need to obtain a license before you undertake this type of work. Once everything is in order, you can begin the process of replacing your roof.
Get The Right Equipment
The first step is to make sure that you’ve got the right equipment. When doing a roofing job, there are a few key pieces of equipment that you’ll need to secure. First, you’ll want to make sure that you hire a big bin, to remove the old shingles and other waste. You’ll also need a strong ladder. For safety, you might want to consider getting a harness.
However, one of the most important pieces of equipment that you can own is a roofing nailer. This will be invaluable, speeding up the roofing process dramatically. Because of how important this tool will be, it’s worth investing a little more to make sure that you’re getting a good model. To help you do this, you can use this excellent site, which analyses some of the most popular brands, so you can find the right one for your project: https://wisepick.org/best-roofing-nailer/.
Take Off The Old Shingles
The first thing that you’ll need to do is to remove the old shingles. During this process, you should make sure that any old nails have been completely removed. If that’s not possible, nail them into the roof. There are a few tips that you can use to make this process go smoother. First, you might want to move your bin as close to the area that you’re working as possible. This will allow you to throw the old shingles into the bin from the roof. You can also use tarps to protect trees or furniture from damage.
Once the old shingles have been removed, you’ll be able to get a clearer picture of the condition of the roof. For example, there are some cases where you might remove the shingles to see that the beams that support the roof has been damaged or have started to rot. If this is the case, you’ll need to fix these issues before continuing. If you need to repair structural damage, it’s recommended that you call in a professional. In most cases, though, you’ll just need to make a few minor repairs.
Install The Ice Barrier And Felt Papers
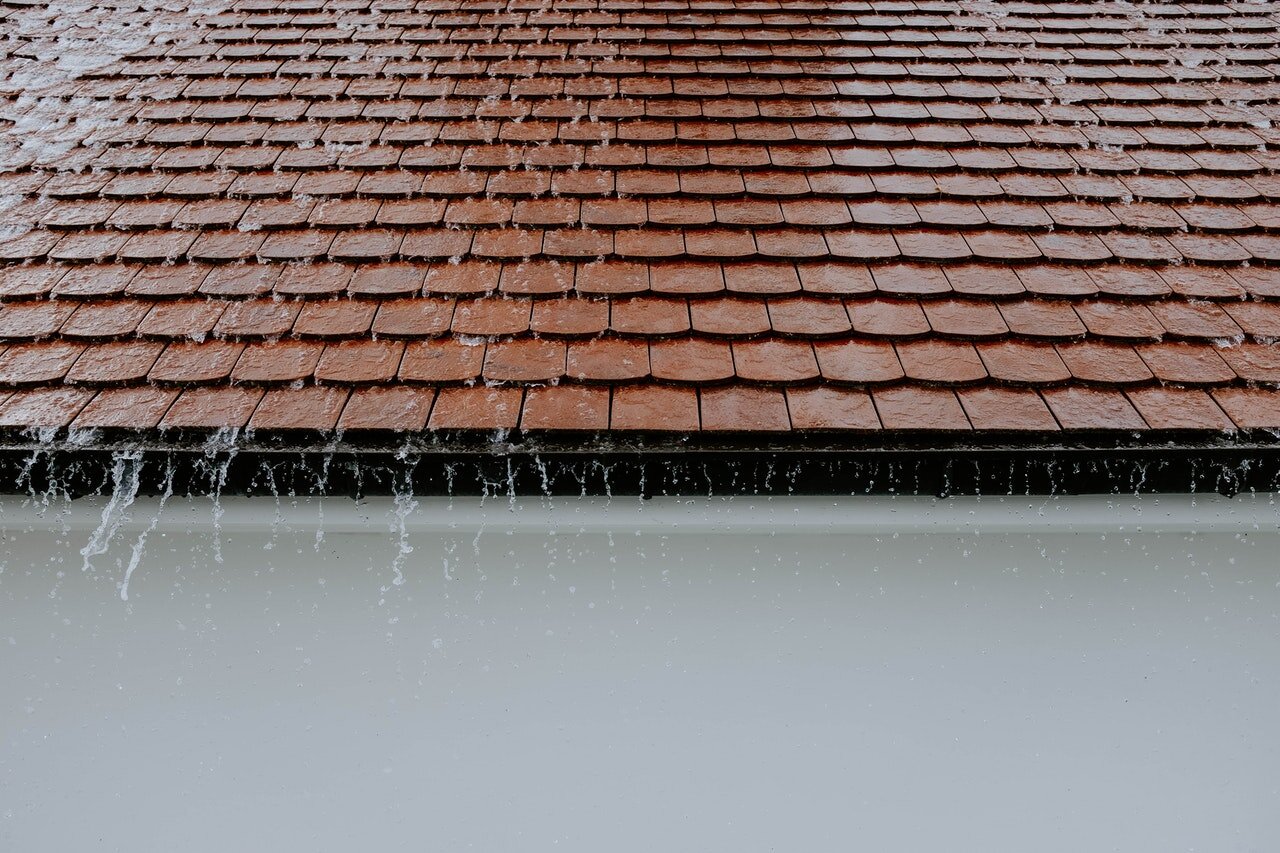
If you want to, install the drip edge. This will provide a more fully finished look to the roof, preventing water from dripping over the fascia. To put in the drip edge, run it along the edge of the roof, nailing it every few feet.
The next step is to install the ice barrier. This will make sure that water doesn’t pool or freeze in your roof, which can lead to serious damage. In most cases, you’ll need to use underlay to prevent this, forming a waterproof ice barrier. For most roofs, this will come in a self-sticking underlay model. In most cases, you’ll need to roll this along and the underlay will stick to the roof. As you do this, make sure to leave at least two inches of overlap. As you apply it, make sure it’s sitting flat against the roof. In some cases, you might need to use a nail gun to make sure that the underlay has been applied to the roof properly. You’ll often need to install at two layers of underlay, to make sure that your roof is fully waterproofed.
Once the underlay has been applied, you’ll be able to put on the felt paper. This will help get rid of the water, protecting your house if it rains during the project. This should be fairly simple. You’ll need to roll it out along the roof. Apply several layers, making sure that they all overlap. As you lay the paper down, nail it to the roof. You’ll need to make sure that you’ve stapled it carefully, otherwise, it could slip out while you’re on the roof.
Install Valley Flashing
The next step is to apply the valley flashing. This occurs where the two sides of the roof meet, preventing water from building up in this area. Before you do this, put down an extra layer of underlay and felt paper, to add a little more protection. Then, fold the flashing over the edges of the valley, nailing it in place.
You might also need to add in a ridge vent. Most modern houses will have one of these. However, some older houses might not have these installed. If this is the case, you’ll need to cut a hole along the top of the roof above the attic. In this case, you’ll need to apply caulk to the flange, giving you a place to attach the aluminum ridgeline. You can then attach the decking to this line and put it in the end caps.
Apply The Shingles
The next step is to put the shingles onto the roof. You can do this in two stages. First, apply the starter shingles. This will provide a little more protection to your roof. As you put in the starter shingles, make sure that the adhesive strip is facing upwards.
Next, you can install the roof shingles. You’ll need to make sure to nail these securely to the roof. This will ensure that they don’t blow away in a storm. In most cases, the shingles will come with instructions about where you should be nailing them. To give your roof a cleaner look, you might want to leave some overhang when installing the shingles over the edge of the roof. Then, you can cut them off, in a straight line.
Add Flashing
There are many areas of the roof that have the potential to allow water to seep into the building. For example, you might have a skylight. In these places, you’ll need to make sure that you’re adding flashing. This is often done as you’re installing the shingles. To put in the flashing, you’ll first need to add a layer of underlay. Then, add some caulk to fill in any holes. You’ll then be able to put in the flashing. Finally, you can place the roof shingles over the flashing.
Conclusion
Having to install a new roof can be a daunting experience. However, this doesn’t have to be the case. If you’re willing to put in the effort, you can replace the roof yourself. So, now you will be able to start re-roofing your home today.
Author Bio:
Nathan Bowers was born and raised in Brisbane, Australia. After graduating from the University of Southern Queensland in 2017, he’s been working as a freelance writer.